Folding Cloths
Materials:
Basket
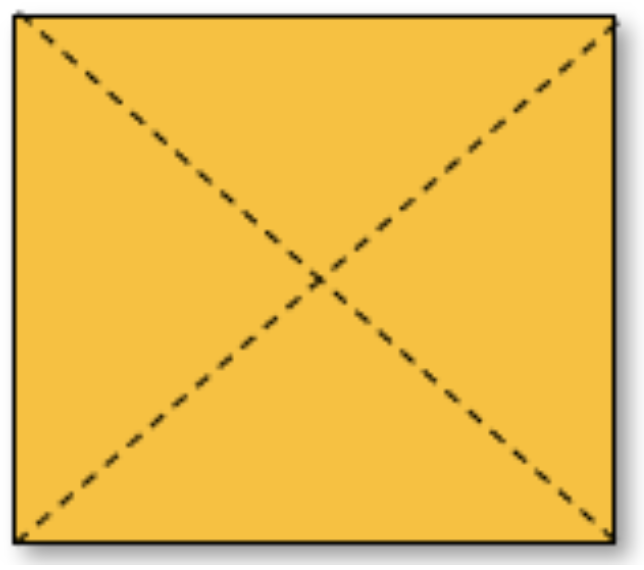
Square cloths, 12" x 12", each having a different indicating lines marked with a colored pencil or sewn into the cloth with a contrasting thread. One cloth has no indicator line.
Purposes:
Independence
Visual Motor Coordination
Care of the Environment
Indirect Preparation for Geometry
Age: 3 - 4
Preparation: None
Presentation:
Invite one child for a lesson on folding.
Show the child the materials, how to pick up and carry the tray, return it to the shelf and allow the child to bring it to a table.
Sit to the child’s right and explain what you will do.
Cloth #1
Take the first cloth, place it in front of the child, the wrong side up with line oriented horizontally.
Run your finger above and along the line left to right.
Place your dominant hand above the line. Take the lower corner with the fingers of the other hand.
Fold upwards and emphasize making the points touch.
Show the child the line that is now the edge of the cloth.
Slide the cloth up to the top left of the table.
Cloth #2
Take the second cloth, place it in front of the child, the wrong side up with line oriented horizontally.
Run your finger above and along the line left to right.
Take the right corner in your right fingers and the left corner in your left fingers
Lift the edge, fold upward, and emphasize aligning the left corners, then the right.
Show the child the line that is now the folded side of the cloth.
Slide the cloth to the upper left corner of the table.
Unfold the Cloths
Explain what you are going to do. Starting with the last cloth, take the corner and gently wave out the fold, and place it on the table.
Invite the child
Fade and observe
For most children, this is enough to present. Consider taking the basket of clothes with you so the child just has the two to practice.
Cloth #3
Make the first fold in the same manner as Cloth #1.
Turn the cloth so the new fold line is horizontal.
Run your finger above along the line left to right.
Repeat the folding process
Slide to the top left edge of the table.
Cloth #4
Make the first fold in the same manner as Cloth #2, turn the cloth, and repeat.
Cloth #5
Orient the lines horizontally, follow the sequence for the first stitched line, show the fold, turn the cloth and repeat the fold to the top.
Cloth #6
Orient the bottom stitched line horizontally, indicate line, place a right finger on the spot and fold a corner up.
Show the fold line. Turn the fabric and repeat until all corners are folded.
Cloth #7 (no lines)
May be folded however the child likes.
Unfold the Cloths
Explain what you are going to do.
Starting with the last cloth, take the corner and gently wave out the fold, and place it flat in the basket.
Continue to put the cloths back in the basket in reverse order.
Invite the child.
Fade and observe.
Points of Interest:
Seeing the stitched line after the cloth is folded.
Placing cloths so the fold line is horizontal.
Matching the corners exactly.
Following Exercises:
Folding napkins, tablecloths, polishing cloths, and drying cloths from the classroom.
Folding aprons.
Folding clothing or socks.
Pedagogical Notes:
Keeping the fold line parallel to the edge of the table makes it easy for the child to see the stitched line after folding.
Fold from the bottom upward so the fold line appears to the child automatically when the fold is made.
Iron the cloths to keep them crisp and inviting.
Do not run the hand on top of the fold of the cloth because you will create a crease.
When the cloth is ironed on the fold lines making creases, the corners will always line up exactly which removes a point of interest and a call to the will to be as precise as possible.


